Airtightness testing is an important part of product quality control, and it is vital to master the correct use of testing instruments.
Bought a new airtightness tester and don't know how to use it? Don't worry, this article takes you from unboxing to skillful operation, every step is clear. Let's take JCGK desktop airtightness tester as an example.Step-by-step instructions with video tutorials at the end of the article.The

I. List of equipment
When you receive a set of airtightness tester, first check if everything in the box is complete:
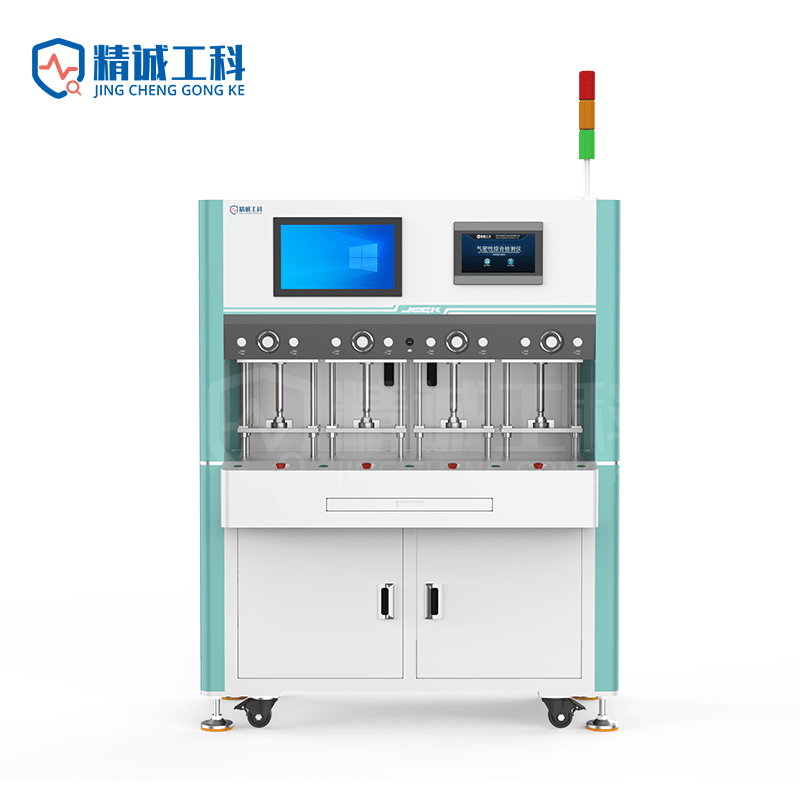
1. Mainframe equipment
- A standard air tightness testing instrument
2.Specialized test tooling
- A well-tuned jig (the device used to hold the product in place).
3.Standard accessories
- A gas supply pipe (a pipe to catch the gas)
- A test tube (for connecting the tooling to the instrument)
- A data cable (for signal connection)
- A power cord (the one that plugs into the power supply)

II. Installation steps
1. Pipe connections
- Connect the test tube to the test port on the back of the instrument (take care to tighten the screws)
- Connect the signal cable to the external control connector (observe the position of the connector to ensure that it is correctly positioned and locked)
- Air supply tube to the quick-connect coupler will be fine, the other end is connected to the factory air supply
2. Electrical connections
- Power cord plugged into power connector
- Turn on 110V or 220V power
3. System start-up
- Press the on button.
- Waiting to enter the instrument login screen

III. Guidelines for the operation of the system
1. System login
- Select user rights (engineer rights are recommended)
- Enter password (666888) to confirm login
2. Main functional interfaces
The system has these main common interfaces:
- parameterization: Adjust the parameters according to the product you want to measure.
- Data Query: Click on this if you want to see capacity and historical data.
- test interface: Use this for actual testing
3. Testing process
①Product Preparation
- Ensure that the product to be tested is dry and clean
- Place the product correctly on the fixed fixture.
② Test Execution
- Start the tooling to begin testing
- Observe the leakage value/leakage rate displayed by the instrument
- Waiting for the completion of the test interface PASS or FAIL prompts, according to the display results to determine whether the product is qualified
③ Data management
- Enter the data query interface to view the test data
- You can swipe left and right to see all the data, including date and time, test standard, leakage value/leakage rate, test results, etc.
- Support USB flash disk data export function

IV. Precautions
- Make sure all accessories are complete before installation
- When connecting, pay attention to the correct position of each connector.
- Ensure that the product is in the required condition before testing
- Regularly check connections for tightness
- Routine maintenance to keep equipment clean
V. Video tutorial description
To help users understand the operation process more intuitively, we provide detailed video tutorials. Included:
- How to recognize the parts out of the box
- Detailed step-by-step installation demo
- Explanation of system operation interface
- Practical Test Demo
- How to check data and export
Video tutorial on how to use the airtightness tester
VI. Summary
Through the study of this guide, I believe you have mastered the basic use of the airtightness tester. By following the correct method of operation and maintenance, not only will you be able to measure accurately, but the equipment will also last longer.
If you encounter any problems in the process of use, or have other needs related to airtightness testing.Feel free to contact JCGK's technical support team for any inquiries. Our engineers are standing by to provide you with comprehensive technical support and solutions!The