In industrial production.Air tightness test is like a "rigorous physical examination" of the product to distinguish between OK and NG products. Every non-conforming (NG) product can mean huge economic losses and potential safety hazards.
Today, let's take a look at why some seemingly failed products may end up passing the airtightness test.
I. Ambient temperature: the "invisible mastermind" affecting test results
1. The basic principle of airtightness testing
To figure this out, we have to understand a basic principle. In physics, there is a formula called the 'ideal gas equation of state':
PV = nRT
To put it bluntly:
- P is pressure.
- V is the volume (test volume)
- n is the amount of gas - R is the ideal gas constant (8.314 J/(mol-K))
- T is the temperature
This formula tells us that temperature changes directly affect the test results.
2. How temperature changes can "mess things up"
Imagine an airtightness testing instrument as a sophisticated "detective" responsible for checking for small air leaks in a product. However, this "detective" may be "confused" by the ambient temperature, resulting in a biased judgment.The study found that small changes in temperature could make test results 'unreliable'.
3. Real-life case sharing
Recently, an engineer who is a fan of Precision Engineering's airtightness encountered an interesting situation:When using a well-known brand of instrument for airtightness testing, the product that was originally judged to be unqualified (NG) surprisingly passed the test in the end, and the airtightness test showed a pass.

After repeated troubleshooting, they found that the culprit of the problem was most likely the drop in ambient temperature and the low temperature of the workpiece. Our advice to him was:Airtightness testing operations try to use in a constant temperature workshop, most brands of airtightness testers currently have this defect.
II. Deeper causes of miscarriage of justice due to temperature changes
We've already learned the basics of the relationship between temperature and airtightness testing. Now, let's take a closer look at how temperature variations can affect test results and how to effectively circumvent these misjudgments.
1. Importance of constant temperature of workpieces
The temperature of the workpiece is a key factor affecting the accuracy of gas tightness testing. The state of motion of gas molecules changes significantly at different temperatures:
- The higher the temperature, the more violent the movement of gas molecules and the greater the distance between molecules
- The lower the temperature, the slower the motion of the gas molecules and the smaller the distance between the molecules
This means that the pressure and leakage characteristics of the same volume of gas can change under different temperature conditions. Therefore, it is critical to keep the workpiece in a stable temperature environment.
2. Criticality of ambient temperature control
Fluctuations in ambient temperature can directly affect the reliability of test results. The ideal environment for airtightness testing should have the following characteristics:
- Constant temperature within ±1°C fluctuation range
- Selection of an enclosed, temperature-controlled testing environment
3. Hidden hazards of airflow fluctuations
Seemingly insignificant changes in airflow may actually seriously interfere with airtightness testing:
- Temperature gradient near air conditioning vents
- Vortexing of airflow from internal shop fans blowing directly into the inspection area
All of these factors mayThis leads to unstable and unreliable test data, which deviates greatly from the actual leakage data, resulting in the misjudgment phenomenon of passing the airtightness test of NG parts.
III. Precise control: an effective strategy to eliminate temperature misjudgment
1. Selection of high-end testing equipment
- With real-time temperature monitoring function
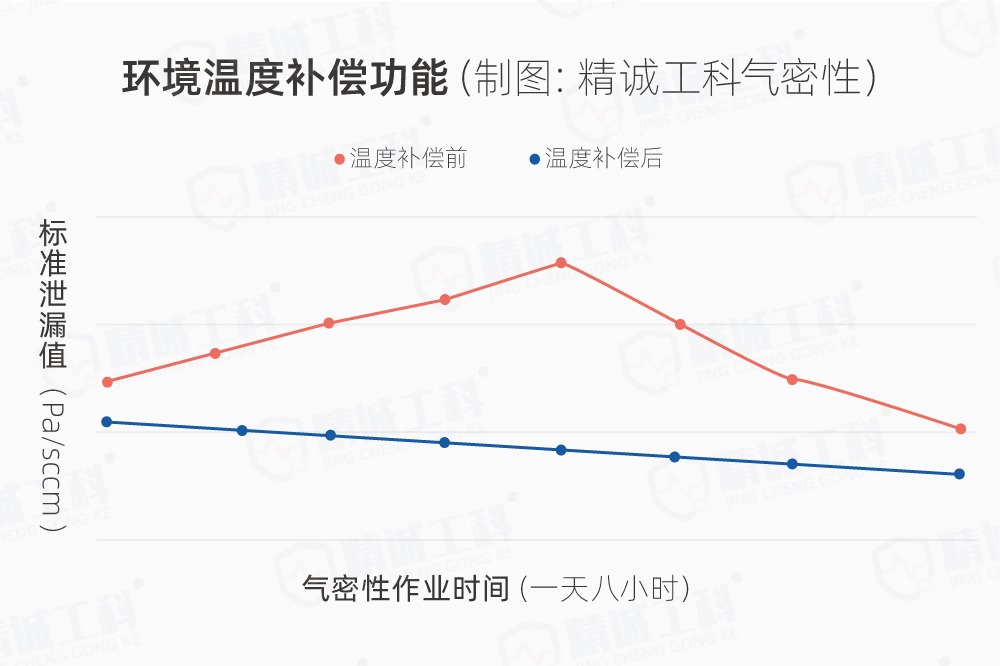
- Automatic temperature compensation

2. Establishment of a standardized testing process
- Establishment of strict ambient temperature control standards
- Setting a fixed workpiece preheating/precooling time
- Equipped with specialized temperature monitoring and control equipment
3. Periodic calibration and maintenance
- Quarterly calibration of instrument accuracy
- Record and analyze the effect of temperature changes on test results
- Timely updating of testing standards and parameters
IV. Practice Case: Precision Engineering's Temperature Compensation Solution
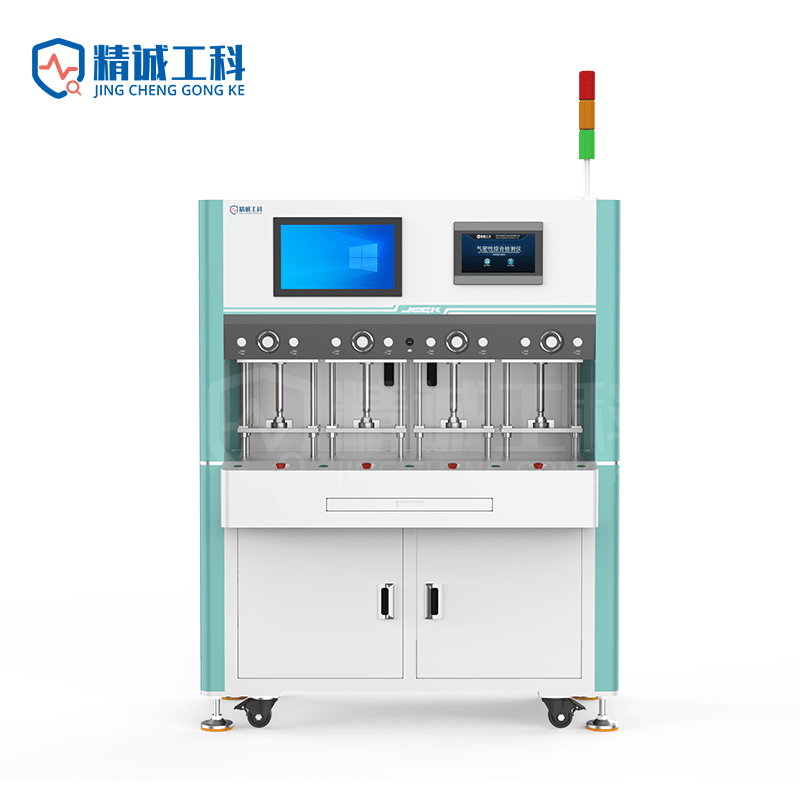
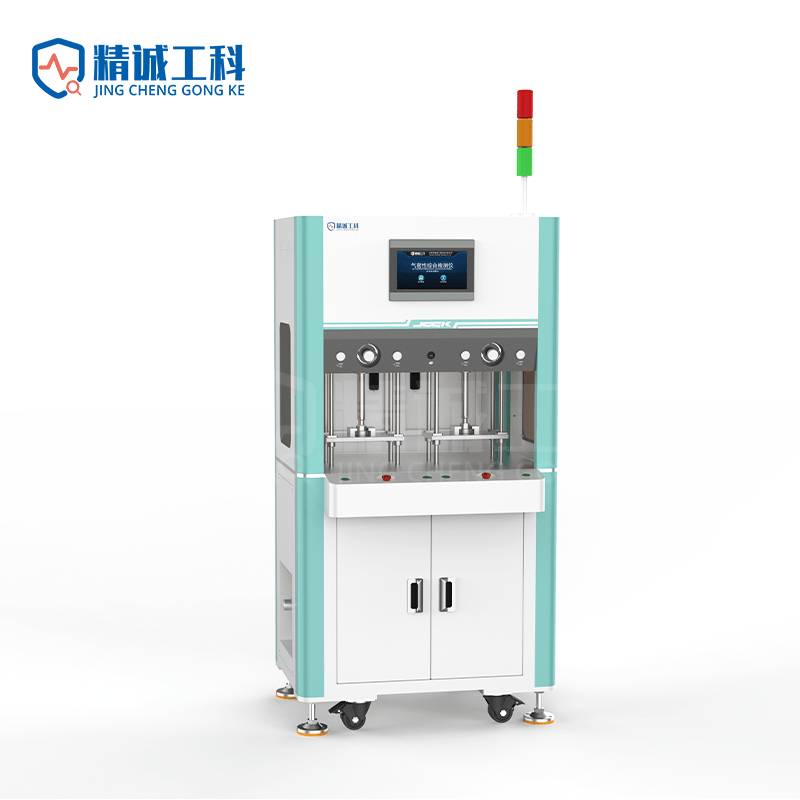
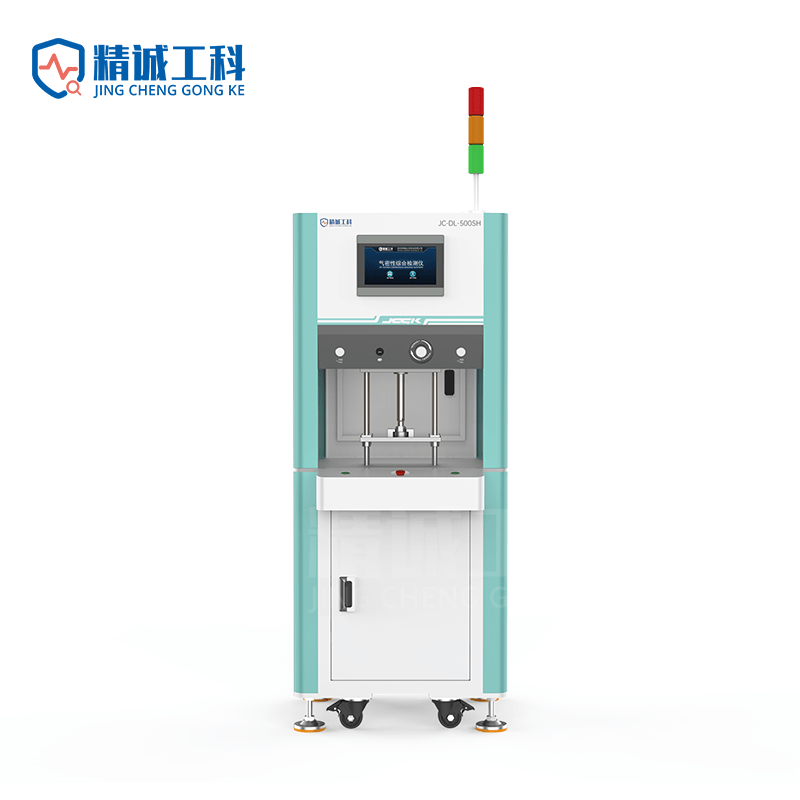
The JC series of airtightness testers from Precision Tech not only provide advanced temperature compensation technology, but also offer customized solutions for the specific needs of different industries:
- Automotive Parts Seal Inspection
- Electronic component air tightness test
- Medical Device Seal Evaluation
- Aerospace component inspection
V. Summary
Temperature may seem insignificant, but in hermeticity testing it can make the difference between life and death for a product. By deeply understanding the mechanism of temperature influence, adopting advanced compensation technology, and performing airtightness operations in a constant temperature and humidity environment, we can dramatically improve the accuracy and reliability of testing.
Precision Engineering will continue to commit to the innovation of airtightness testing technology to provide customers with more accurate and reliable solutions. Let us together, with the wisdom of science and technology, for product quality protection.


